Rig your own live bait to match local depth, current, and bait size instead of wasting cash on flashy pre-tied rigs that spook fish. Use mono or fluoro leaders, circle hooks for natural jaw hookups, and quality swivels with egg sinkers where needed. Free-line two-foot leaders for surface feeders; fish-finder rigs put the sinker on the main line and a short leader to the hook; knocker combos send baits farther. Keep bait lively and hooked to swim naturally — keep going for step‑by‑step tips.
Important Takeaways
- Choose a hook that matches the bait’s mouth and swimming style, favor circle hooks for live or cut bait to reduce gut-hooking.
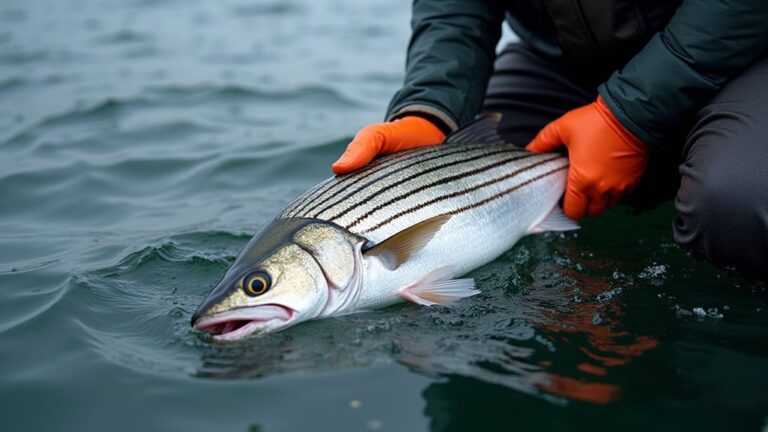
- Rig live bait nose, upper lip, or bridled to allow natural swimming and minimize stress—rotate tired bait promptly.
- Match leader material and length to water clarity and target species; use mono or fluoro and FG or double uni knots.
- Use free-line rigs (no weight) for surface feeders and Fish Finder/knocker combos with sinkers for depth, distance, and structure presentations.
- Position hooks and sinkers to present bait at the desired depth without inhibiting movement, and follow local habitat and regulation guidelines.
Why Pre-Tied Rigs Are a Waste of Money
Ever wondered why so many experienced anglers ditch pre-tied rigs? You’ll find store-bought, pre-tied setups lock you into a fixed design that often doesn’t match on-site depth, current, or bait size, so your live bait looks wrong and catches less. Factory rigs can include flashy beads or oversized swivels that spook fish or upset natural presentation. Without local data, those components may misbalance casting distance and sink rates. When you tie your own, you adjust hook type and size, leader length, and sinker placement to suit species and conditions, improving hookups. Over time customization saves money by cutting wasted gear and letting you tweak rigs quickly on the spot for better, more reliable results. Many Carolinas anglers also tailor rigs for specific targets like Red Drum to match local habits and bait preferences.
Essential Materials for Tying Your Own Rigs
Which materials you pick will make or break how well your live-bait rig performs on any given day. You’ll choose leader material based on budget and conditions: monofilament is cheaper and forgiving, fluorocarbon gives better abrasion resistance and visibility control. Match hook type to bait — circle hooks for live or cut bait to encourage jaw hookups and reduce gut-hooking; reserve J-hooks only for large, actively swimming baits when you need an aggressive set. Pick hook size for the bait, not the fish, going up to 8/0–10/0 for big bunker or shad where legal. Use quality swivels (ball-bearing types minimize twist) and egg sinkers sized to hold your bait in the desired column without excessive drag. Consider storing spare rigs and small tackle in a cantilever tray tackle box for easy access and organization.
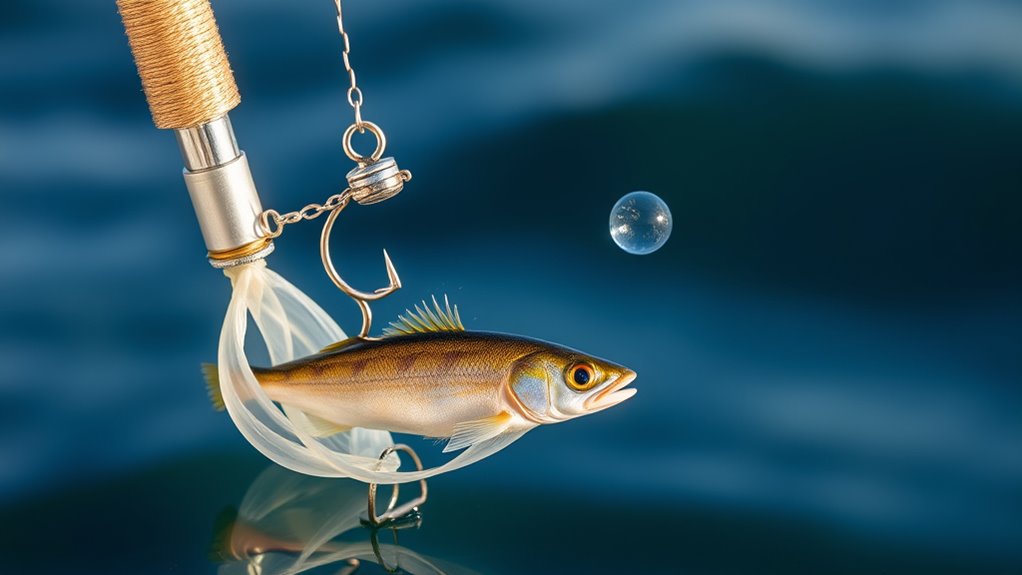
Free Line Rig: Setup and Best Uses
Want the simplest live-bait setup that keeps your bait up in the water where surface feeders can see it? Use a Free line rig: a hook tied to about two feet of leader with no weight, so your live bait rides at or near the surface. You’ll connect the leader to the main line with an FG knot or double uni knot for quick deployment and minimal gear. Ideal for surface fishing in calm, shallow water where visibility is high, this saltwater rigging method reduces line twist and avoids snagging structure or the bottom. It’s low-cost and emphasizes natural presentation. Free line rigs work especially well targeting species that favor the surface, like tuna and mahi-mahi, which are adapted for open ocean and surface feeding. Quick checklist:
- Tie 2′ leader to hook and main line.
- Use FG or double uni knot.
- Fish calm, shallow, surface-feeding zones.
Fish Finder Rig: How to Tie and When to Use It
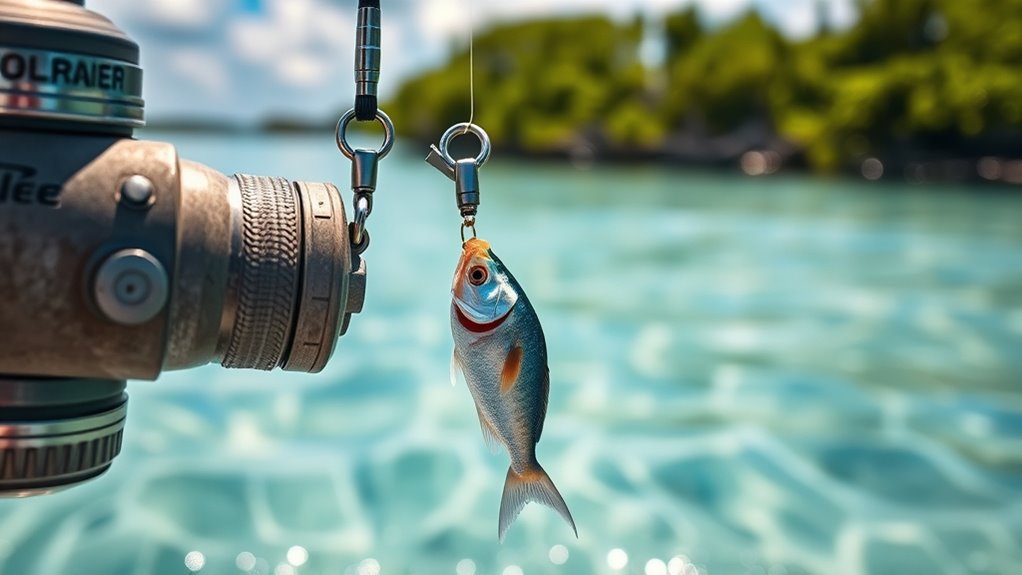
If the Free line rig keeps your bait near the surface, the Fish Finder rig lets you present live bait deeper or in strong current by threading a sinker onto the main line, tying on a swivel, then attaching a leader and hook to the swivel.
To tie a fish finder rig, slide an appropriate sinker onto the main line, tie a strong knot to a swivel, then connect a monofilament or fluorocarbon leader to the swivel and finish with a circle hook.
The swivel prevents line twist and stops the sinker from sliding into your bait, keeping presentation stable while the leader and hook move freely. Shorten the leader to avoid tangles when casting long distances, and match leader material and size to species and water clarity. Be sure to wear a personal flotation device and carry basic safety gear whenever fishing from ice or unstable shorelines.
Knocker/Fish Finder Combo: Cast Farther, Present Better
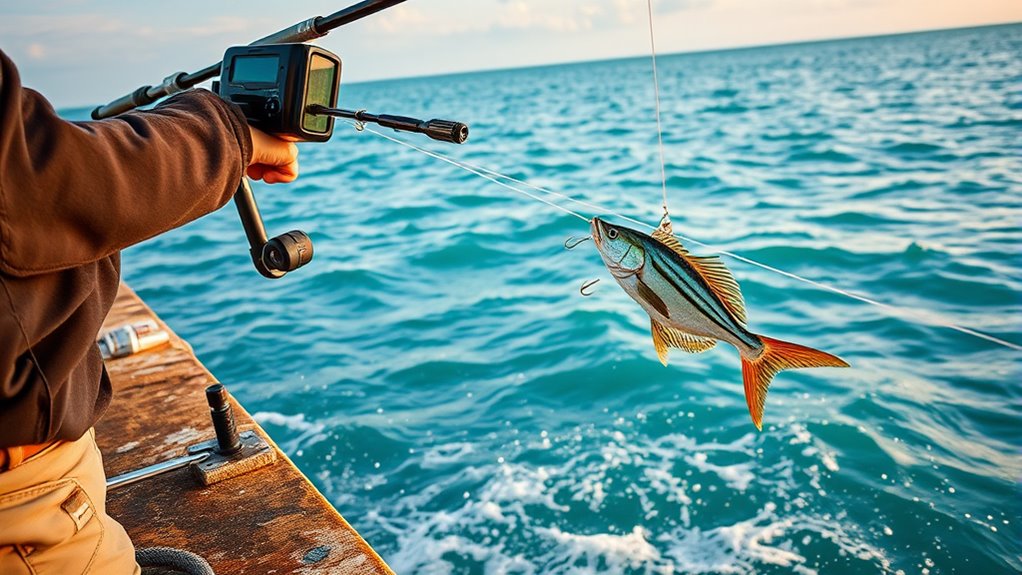
Looking to cast farther while keeping your bait right on structure? Use the Knocker/Fish Finder Combo to get distance and a clean presentation. You’ll run your main line to a swivel, tie a leader to it, thread the sinker onto the leader ahead of the hook, and tie the hook at the leader’s end. This forward sinker placement boosts saltwater casting efficiency and keeps the live bait near structure where ambushes happen, without the sinker colliding with the hook.
- Increased distance: the knocker rig transmits weight forward for longer casts.
- Better presentation: bait stays accessible and free from sinker interference.
- Versatility: holds up in current and deeper water for broader coverage.
Lake of the Woods has excellent walleye and sauger fishing through the ice, making it a go-to destination for anglers in the region, with many lodges and guides available for visitors seeking guided services.
Hook Choices and Sizing for Live Bait
Because the right hook can make or break a presentation, match hook type and size to your bait’s mouth and swimming style so it holds securely without impeding movement. For most live bait you’ll favor circle hooks to reduce gut-hooking and improve release survivability; common sizes run from 8/0–9/0 for large baits and up to 10/0 for very big bunker or shad. Use hook size based on the bait’s mouth dimensions, not the target species, so the bait swims naturally. J-hooks can work for big live baits when you’re actively fishing, but they increase mortally risk. In live bait rigging, match hook type and size to jaw structure, and choose appropriate bait mounting points to maximize hookup efficiency while minimizing bait stress. Many anglers also choose circle hooks specifically to improve post-release survival when fishing with live bait.
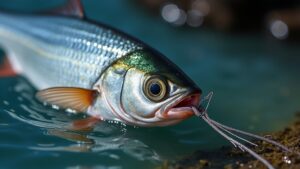
Where to Place the Hook on Different Baitfish
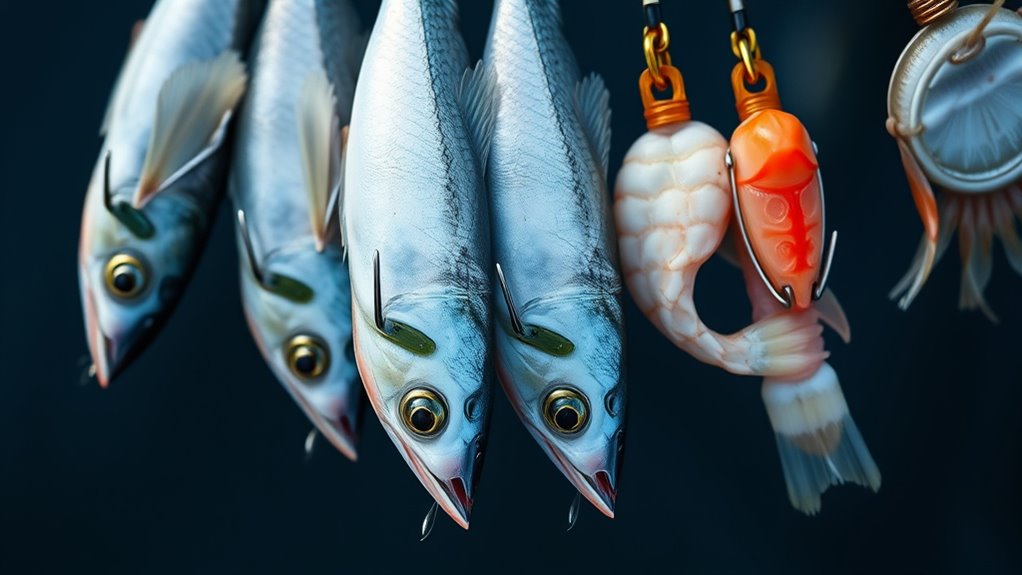
Where you place the hook on a live bait largely determines how it swims and where it sits in the water column, so pick the mount that matches the action you want. Use precise hook placement to control baitfish positioning with saltwater fishing rigs and live bait rigging techniques.
- Upper lip/nostril — Upper lip (through-mouth) preserves natural swimming and water intake; nostril pins midsize baits near the surface with a bridle.
- Behind dorsal — Place just behind the dorsal fin to encourage deeper diving and steady depth maintenance for slower-sinking presentation.
- Anal/throat — Hooking in front of the anal fin makes baits swim down and away; anal vent or throat hooks create panicked wobbles or drive bait deeper for chumming targets. A well-matched hook and rigging approach also considers lure and bait durability, such as using durable hardware to resist corrosion and maintain performance.
Chunk Bait and Bottom Rig Techniques
Chunk bait rigs keep your bait just off the bottom where currents and swell give it natural movement while reducing snags. You’ll tie a 3-way swivel to the main line, attach 1–3 feet of lighter mono from the bottom swivel, then peg a pyramid sinker to that mono so chunk bait hovers above structure. That elevated position mimics swimming prey and keeps bait away from crabs. For rocky shorelines use lower pound-test mono on the drop so you lose the weight, not the main line. You can also rig a floating alternative with a circle hook, a bobber about 3 feet above, and a small weight a foot above the hook to keep chunk bait accessible. Use live bait such as shrimp or small baitfish in spring when fish are feeding aggressively for best results.
| Swell | Hover | Snag reduction |
|---|---|---|
| Current lifts | Bait elevated | Lighter drop line |
Tips to Keep Live Bait Healthy and Natural
A few simple habits will keep your live bait vigorous and swimming naturally, and that boosts hookup rates. Use fresh, lively specimens and handle them gently to preserve bait health and natural behavior. Match your rigging to bait size and species so hooks don’t impede swimming.
- Rotate fatigued bait—replace tired fish promptly to keep the water column lively.
- Place hooks (nose, upper lip, dorsal) and weights to set depth and swimming attitude, using bridles or nostril/vent placements for specific action.
- Favor circle hooks to reduce gut-hooking and improve post-release survivability, which keeps your bait supply healthy overall.
Keep handling minimal, monitor fatigue, and adjust placement to maintain natural movement and higher bite opportunities. Spawning often occurs in shallow, gravelly areas with free-flowing, well-oxygenated water, so avoid baiting near gravelly shallow areas if you want to reduce disturbance to trout during reproductive periods.
Accessories, Knots, and Small Tweaks That Improve Hookups
Wondering which small changes make the biggest difference? Use circle hooks (8/0–10/0 for big baits) on a monofilament leader to let bait swim naturally and reduce gut-hooking. Tie the leader to the main line with an FG knot or double uni knot for a strong, streamlined join that minimizes drag in Free Line rigs.
For longer leaders on Fish Finder or Knocker/Fish Finder saltwater rigs, add SPRO ball bearing swivels to stop line twist.
Choose egg sinkers for bottom presentations and size them to depth and current so bait stays put without dragging.
Prevent snagging by placing a small plastic bead between weight and swivel on Carolina/Fishfinder setups.
Mindful weight placement and quality knots noticeably improve hookups.
Also familiarize yourself with local species’ typical habitats and sizes to match bait presentation and comply with regulations.
Final Thoughts
You don’t need pricey pre-tied rigs — learning a few knots and tying your own saves money and gives better hookups. With basic materials you’ll master free-line, fish-finder, and knocker combos, plus chunk and bottom setups. Hook live bait correctly for each species, keep bait lively with good water and aeration, and use small tweaks—weights, swivels, leader length—to improve presentation. Practice these simple skills and you’ll catch more fish.